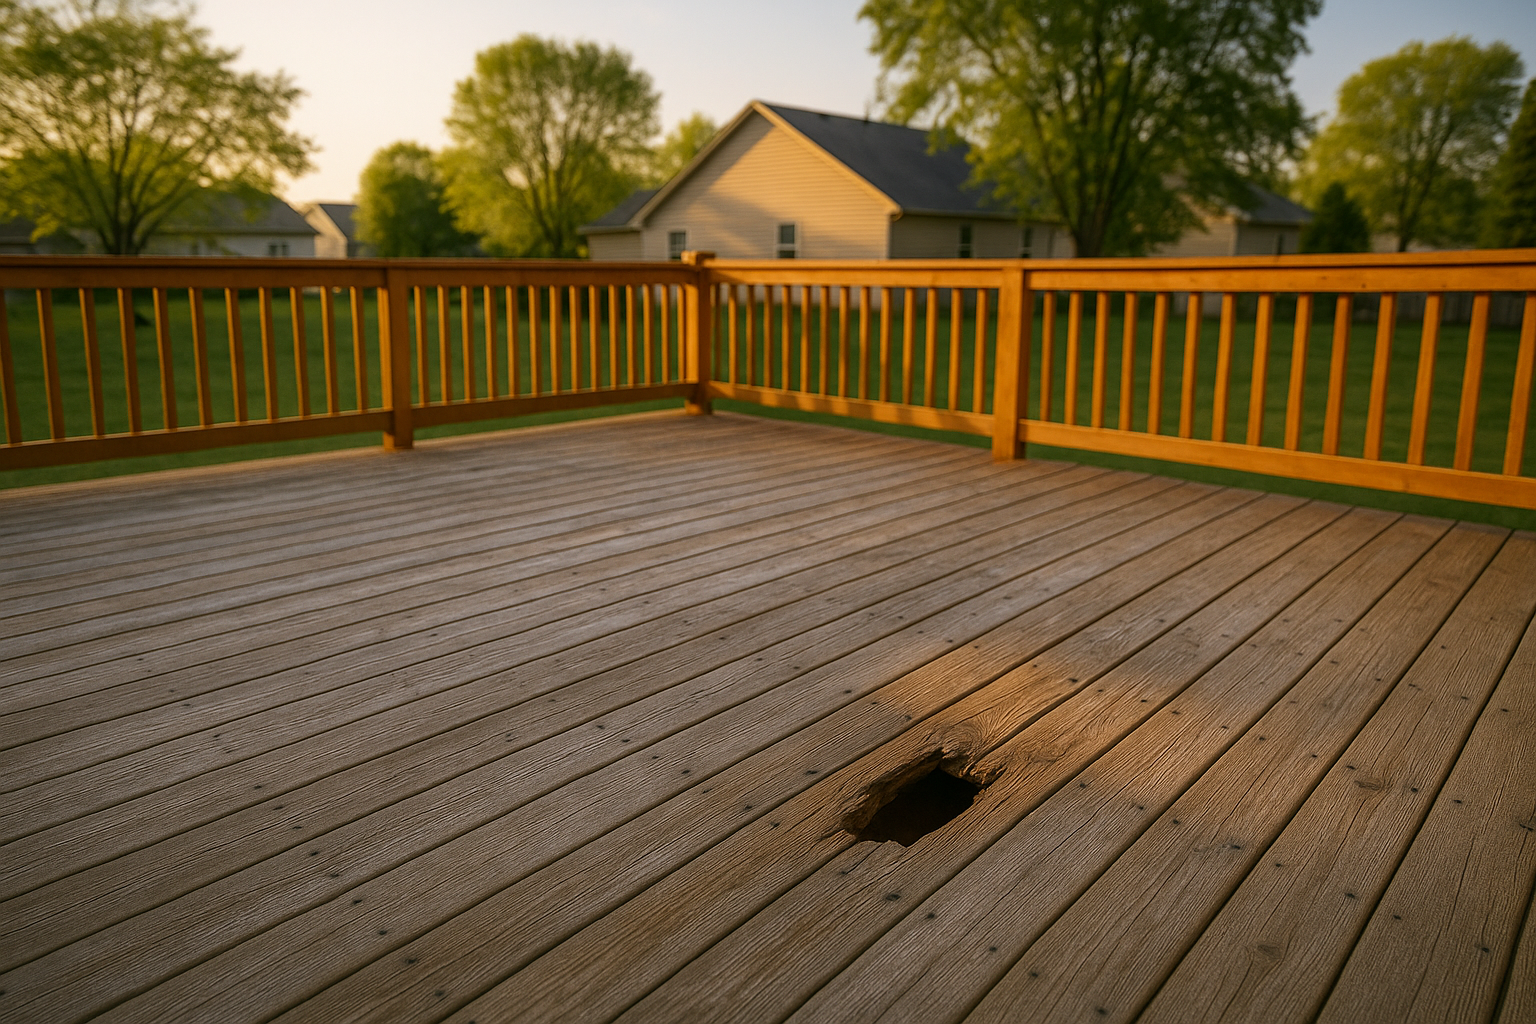
Two summers ago, my neighbor Dave walked onto his cedar deck in Broad Ripple with a cup of coffee and his right foot punched straight through a board. He stood there, one leg dangling under the deck, laughing in that nervous way you do when your Saturday just got a lot more expensive. He called me because he thought the whole deck was shot. Turned out, the rest of the framing was solid, and we only had to replace one board. That's the thing about cedar decks in Indianapolis — sometimes a single rotten board looks like a death sentence, but it's really just a half-day fix. If you're staring at a soft spot or a crack that's been getting wider every freeze-thaw cycle, don't panic. You might only need to replace a deck board, not the whole deck. Here's how to figure that out, what to look for, and why it's not as scary as it sounds.
When one board goes bad (and when more are going too)
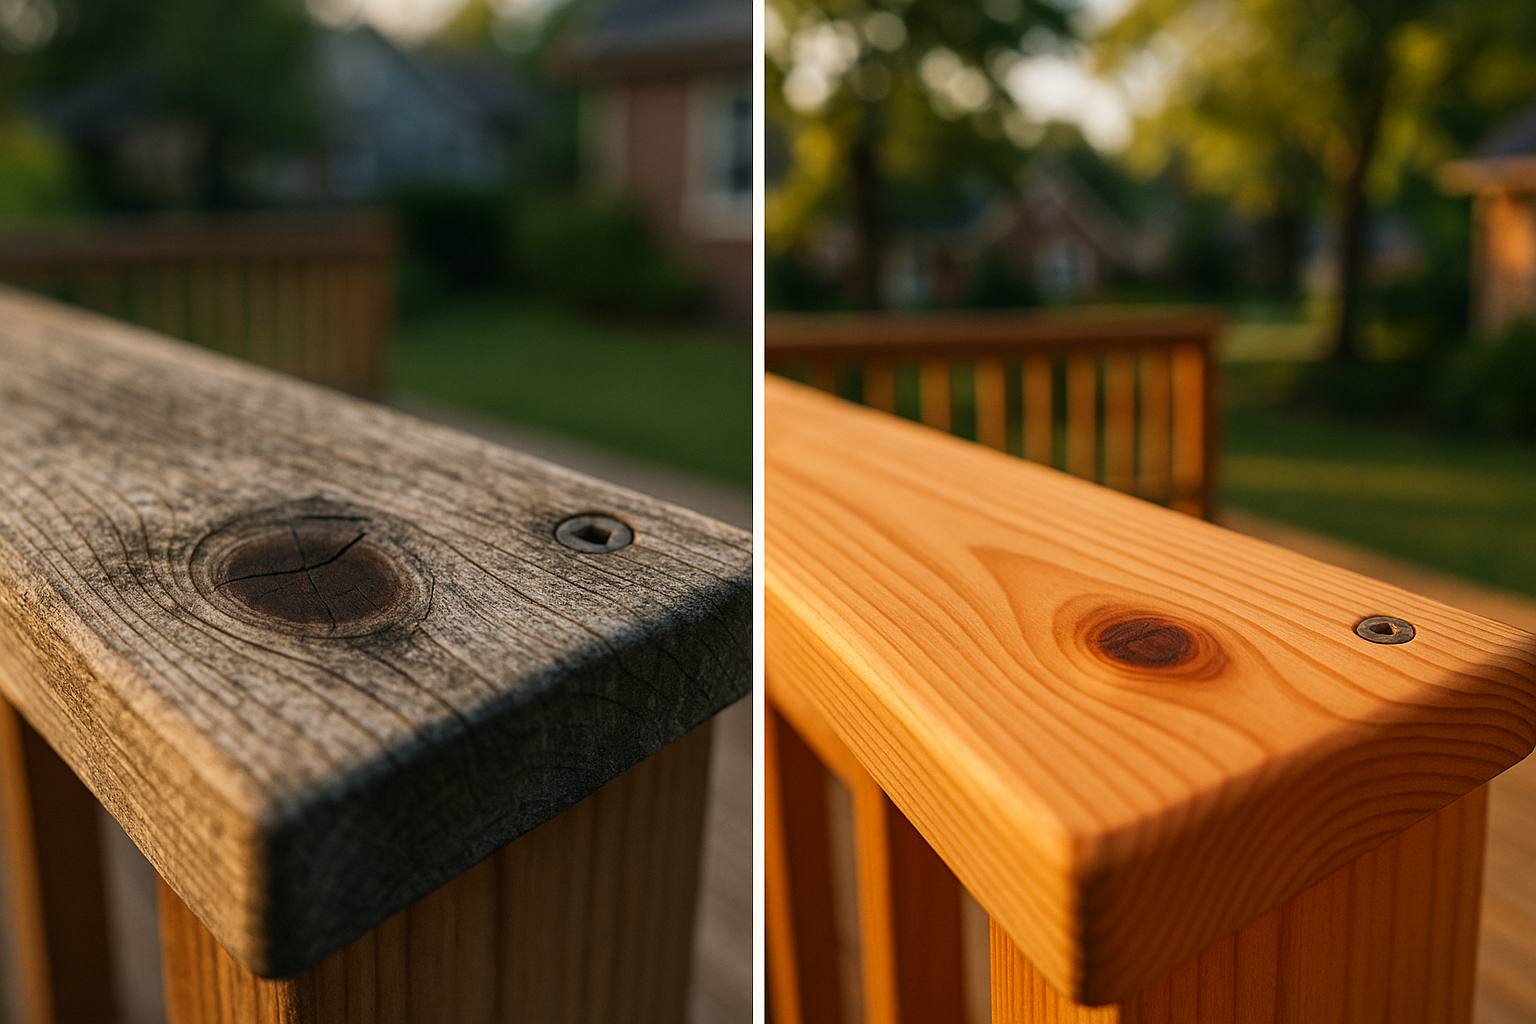
A single board usually fails because water got trapped against a joist or the grain had a weak spot. If the rest of the deck feels solid and you don't have soft spots popping up every spring, replacing that one board makes sense. But if you're finding rot at multiple fasteners, or more than a third of the boards are spongy, you're in resurfacing territory — that's a bigger job, and a good contractor will tell you straight instead of selling you a patch job. The signs to look for: soft areas that give under your foot, dark streaks around screw heads, deep splits that run the length of the board, or severe cupping where the edges curl up. Bug damage can also turn a board into a snack bar. In central Indiana, our freeze-thaw cycles and summer humidity speed up all of that. If the board feels like a sponge when you step on it, replace it. If it's just a little gray and cracked on the surface but solid underneath, you might sand and reseal it. Use a screwdriver — poke it. If it sinks in, it's done.
What to check before you swap that board (because the board is the symptom, not the cause)
Before you even buy the cedar, grab a flashlight and look under the deck. Check the joists where the board ties in. If they're black, crumbly, or you can push a screwdriver into them, you've got hidden damage. Check the ledger board where the deck meets the house. Indianapolis snowmelt and gutter splashback can rot that ledger if the flashing isn't lapped right. Check rail posts too, especially at the bottom where water sits. If your deck has stairs, look at the treads and risers. You don't have to fix everything at once, but you need to know what you're dealing with. Last spring in Carmel, a homeowner asked us to replace two boards, but when we lifted them, the ledger behind the house was full of rot because the flashing had pulled away. If we'd just screwed new boards down, he'd be back in six months with a bigger problem. That's the kind of thing a careful deck contractor finds before it's too late.
Picking the right cedar board and fasteners (so you don't redo this in two years)
Cedar decking comes in different weights, literally. The standard for residential decks is 5/4x6 — that's five-quarter by six, about 1 inch thick. If your existing boards are 2x6, stick with 2x6. Don't mix thicknesses, it looks weird and creates trip hazards. When you buy, ask for Select Tight Knot or Clear grade, and insist on heartwood. Heartwood is the dark center of the tree. It naturally resists rot. Sapwood, the pale outer ring, rots faster than you can say 'Hoosier humidity.' For fasteners, use 305 or 316 stainless steel screws rated for cedar, or a good polymer-coated deck screw. Plain steel will leave black stains around the screw heads within a year, and it'll rust from the tannins in cedar. Pre-drill the ends of the board, especially within two inches of the edge, so you don't split it. Cedar splits easy when it's dry.
Gaps, acclimation, and blending new wood with old (the part everyone forgets)
New cedar is wetter than the stuff that's been sitting on your deck for ten years. If you screw it down tight right away, it'll shrink and leave gaps, or worse, cup. Sticker-stack the boards in your garage for a few days — that means laying them with small spacers between layers so air flows. Indianapolis summers are humid, winters are dry and cold; wood moves. Our rule of thumb: set the gap between boards at about 1/8 inch if the wood is air-dried, maybe 3/16 if it's still damp from the lumberyard. Check out our full spacing guide to avoid a call in July about boards that mysteriously grew together. As for color, new cedar is often lighter and pinker than sun-bleached old cedar. You can sand the edge where old meets new to feather the surface, then apply a penetrating oil finish to both the new board and the surrounding area. It won't be a perfect match, but it'll fade into the deck within a season. Trying to force a perfect match with stain is a losing game — the sun will win. We've done patch jobs in Meridian-Kessler where the homeowner was convinced you'd see the seam from the street, and after one summer, even they couldn't find it.
Why hire a pro for a one-board job? (Also, fences, patio enclosures, and railings)
Can you DIY? Sure, if you've got the tools and the patience. But here's what goes wrong. Most people buy the wrong fasteners and the board rust-stains within a year. They don't check the framing and end up screwing new wood into a spongy joist. They set gaps too tight and the board cups in August. And if that board happens to be under a patio enclosure, or near a fence, or supporting a railing post, the job gets a lot more complicated. We're not saying you can't do it, but we've fixed enough DIY attempts to know that a one-hour job can turn into a weekend-long headache.
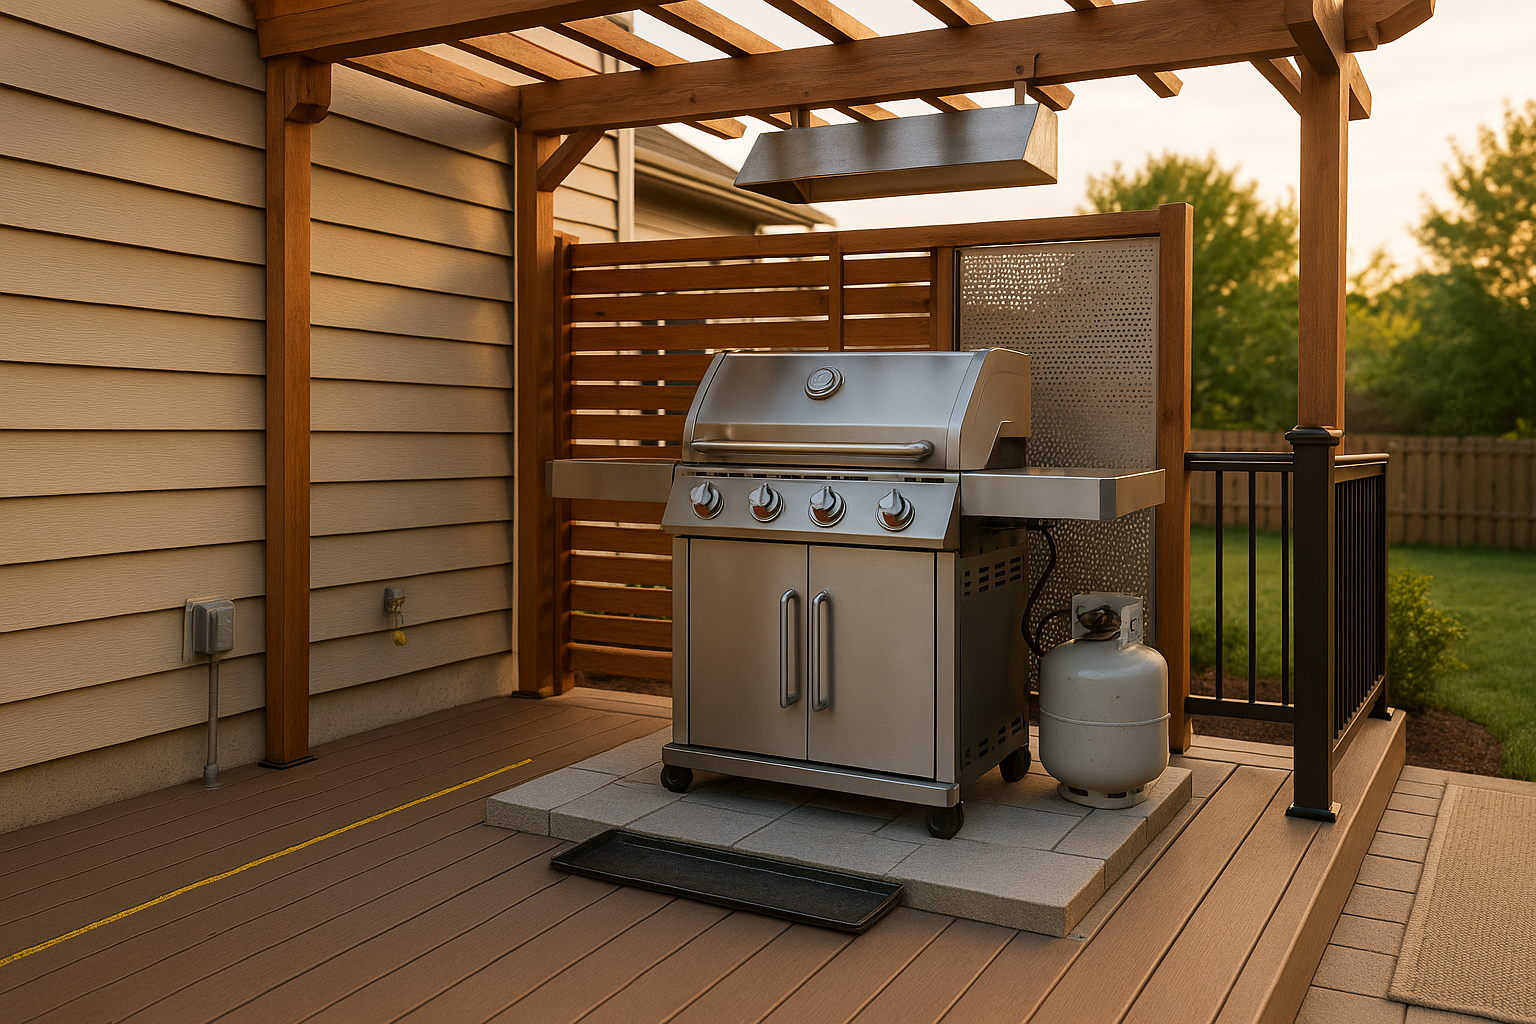
If your deck runs along a fence — say, a privacy fence in a newer Fishers or Zionsville subdivision — sometimes the fence post is set right next to the deck board. Getting the old board out might mean temporarily loosening a fence picket. A contractor with fence experience can do that without damaging the fence; or he can tell you to call a fence contractor. Same with patio enclosures: if you've got a three-season room built on part of the deck, that enclosure's base track sits on top of the decking. Pulling a board out from under that can break the weather seal. You need someone who understands both deck and patio enclosure construction — and that might not be the same guy who just builds fences. And railings: if the railing post bolts through the board you're replacing, you're now altering a safety feature. Indiana code has specific guardrail height and stair requirements. If you're not sure, check our guide. At DeckPros, we're deck contractors first, but we've worked around fences, enclosures, and railings enough to know when to call in a specialist or handle it in-house.
What it costs and how long it takes (no sticker shock, promise)
A single board replacement might take two guys half a day. If you're doing multiple boards, figure a day or two. The finish needs to cure for 24 to 48 hours before you move furniture back. Best months in central Indiana for finishing are May, September, and early October — not too humid, not freezing. Winter is possible for the board swap itself, but finishing is tough when it's below 50 degrees. As for permits: Marion County and most surrounding towns don't require a permit for replacing surface boards like-for-like. But if you're touching railings, stairs, or structural framing, you might. DeckPros checks case by case so you don't get a surprise from the city.
What drives the cost? How many boards, how easy the access is, whether we need to move a hot tub, the type of fasteners and finish you choose, and if we find hidden framing damage. Disposal of old lumber costs money too. A good contractor will give you a clear scope before starting, so you're not guessing. I've seen a Greenwood homeowner think replacing three boards would be $200. It turned into $800 because two joists were rotted underneath. That's not a fun conversation, but it's better than finding out after the new boards start sinking.
So, do you actually need to replace that board? (and how to get it done without the drama)
If you've got one board that's soft, split, or smells like a mushroom farm, don't ignore it. Replacing a deck board is one of the cheapest deck repairs you'll ever do, and it can buy you years before a full resurfacing. But do it right: check the framing, pick good cedar, use stainless screws, set the gaps for Indiana, and don't force a perfect color match. If the job is more than you want to tackle, have a local deck contractor take a look. Not to sell you stuff, but to tell you what's actually going on under your boards.
DeckPros does free site assessments for Western Red Cedar board replacement all over Indianapolis, Carmel, Fishers, Zionsville, Westfield, Noblesville, Greenwood, Brownsburg, Avon, and Plainfield. We'll tell you if you need one board or five, and if there's hidden rot. No pressure, just a clear plan. Grab a time on our quote form.
Thinking about your own deck or pergola?
Free in-home design consultation, 3D rendering, and a written quote — no pressure.