Last fall, my neighbor Mark decided to add deck lights before a big barbecue. He grabbed a DIY kit, strung some wires, and by sunset his deck looked like a runway—too bright, half the lights flickering, and a glare that annoyed the folks next door. He spent the next weekend redoing it. If you live in Carmel, you know our weather and HOA rules can make a simple project tricky. This low voltage deck lighting installation guide will help you avoid Mark's mistakes and get a warm, safe deck you'll actually enjoy.
What Do You Really Want From Your Deck Lights?
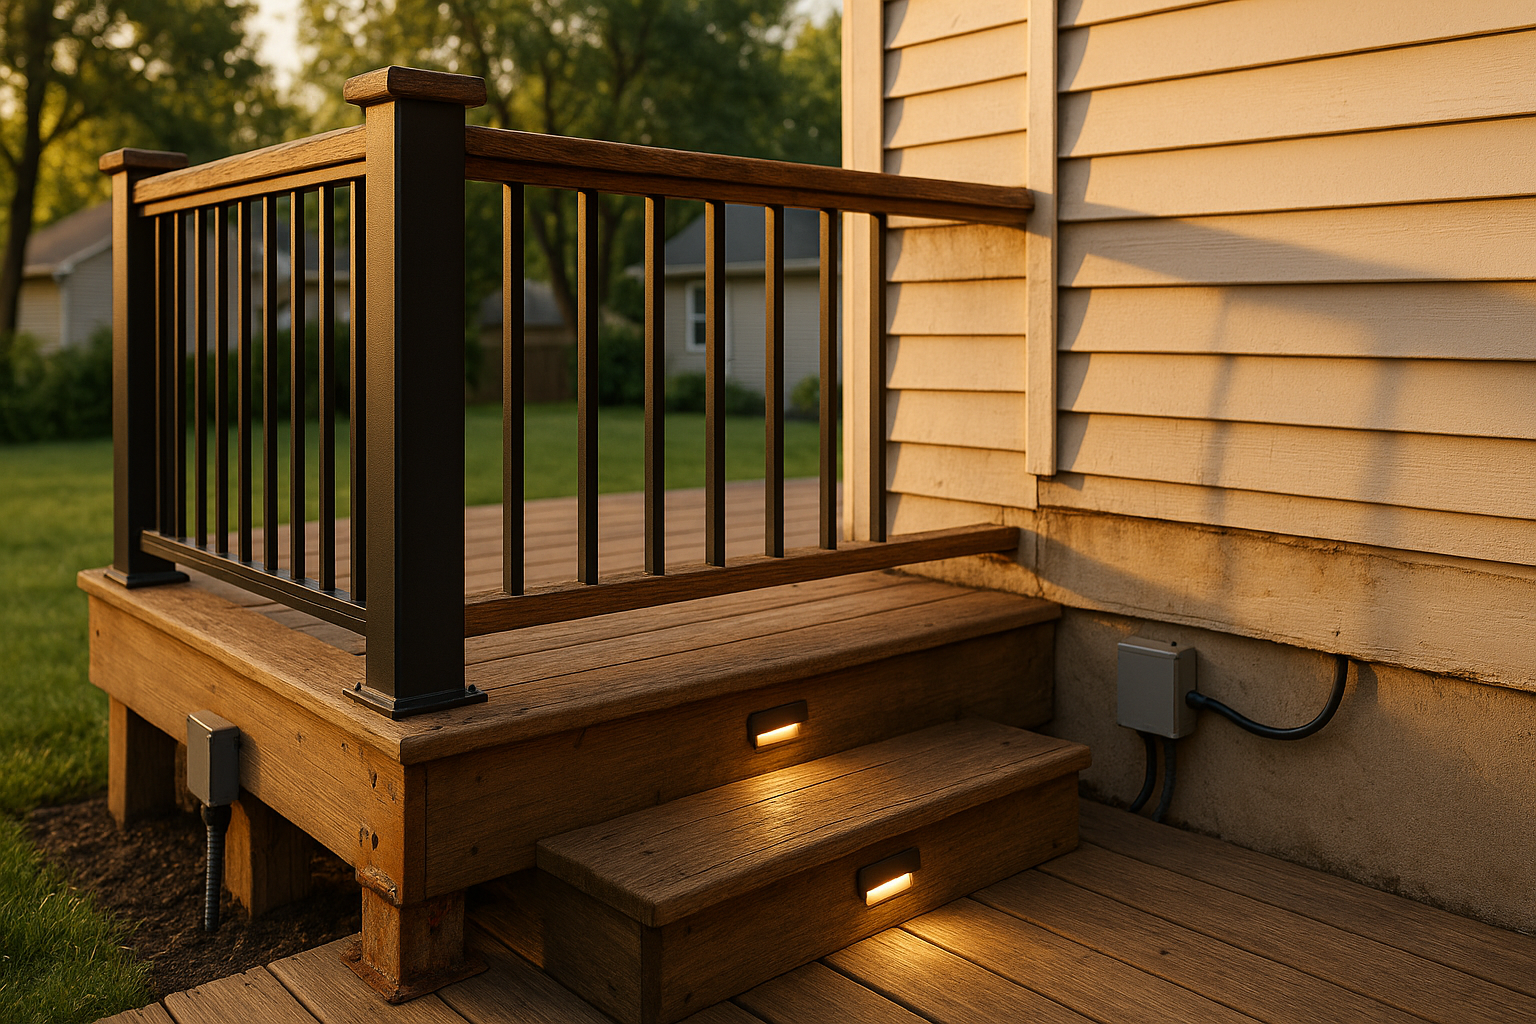
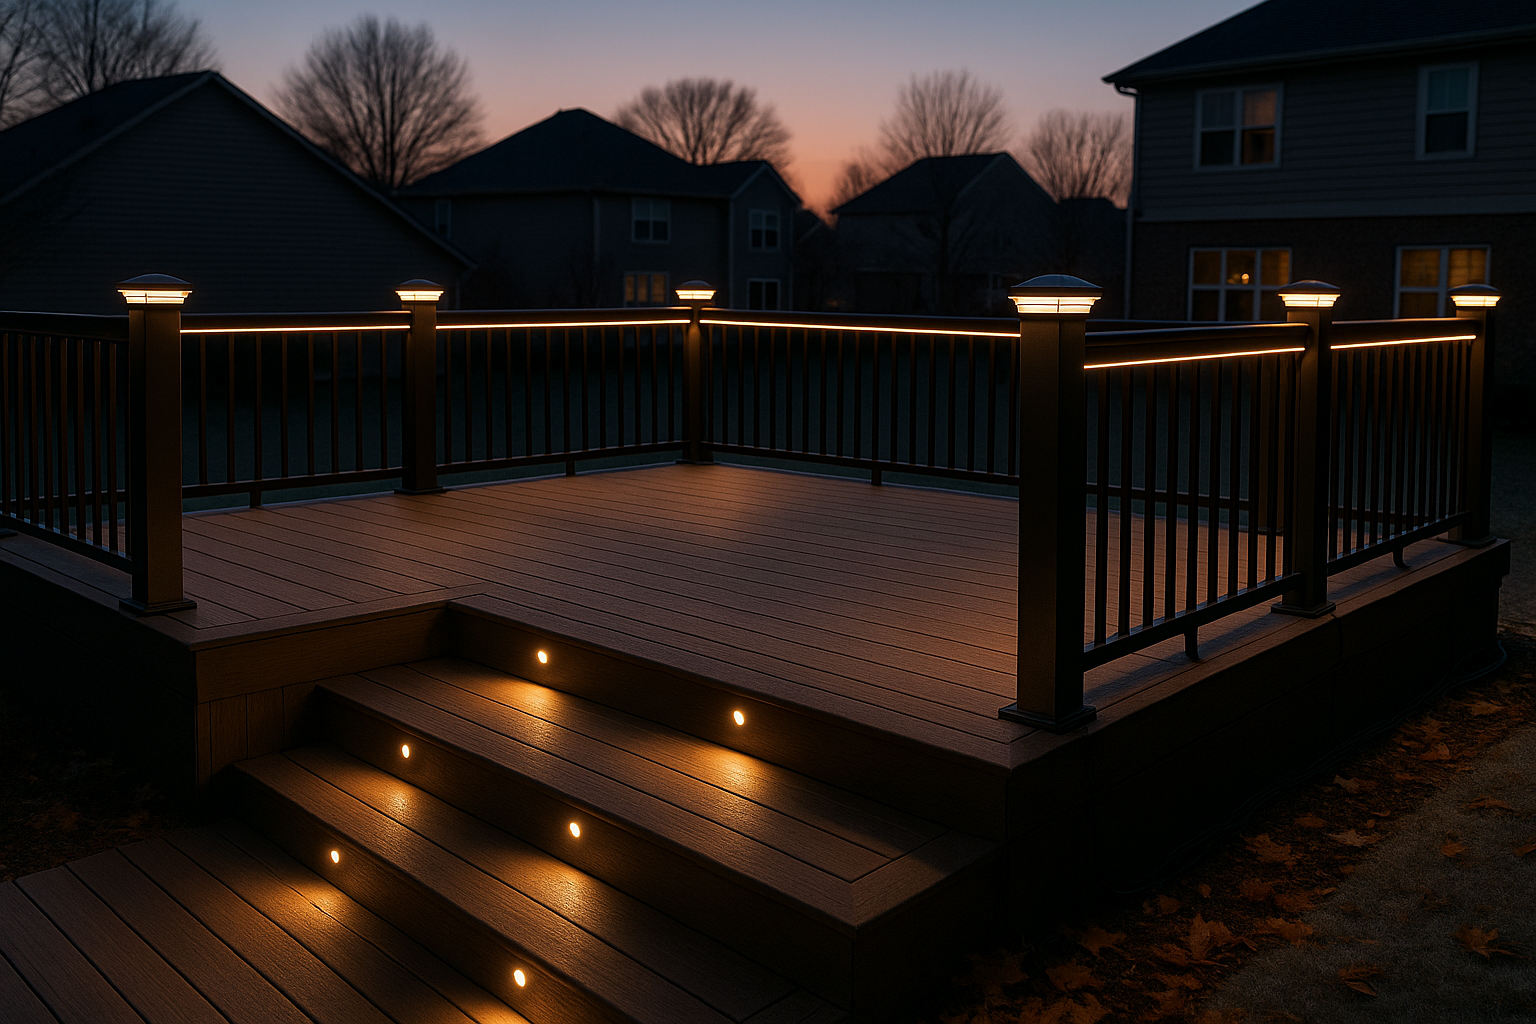
Before you buy a single fixture, think about how you use your deck. Do you need to see stairs so no one trips? Want a soft glow for evening chats? Maybe task lighting by the grill. Most Carmel homes mix all three. So consider this your low voltage deck lighting installation guide for Carmel homes—grab a sketch pad and mark where you want light. Common spots are post caps, stair risers, under-rail strips, and recessed lights in the decking.
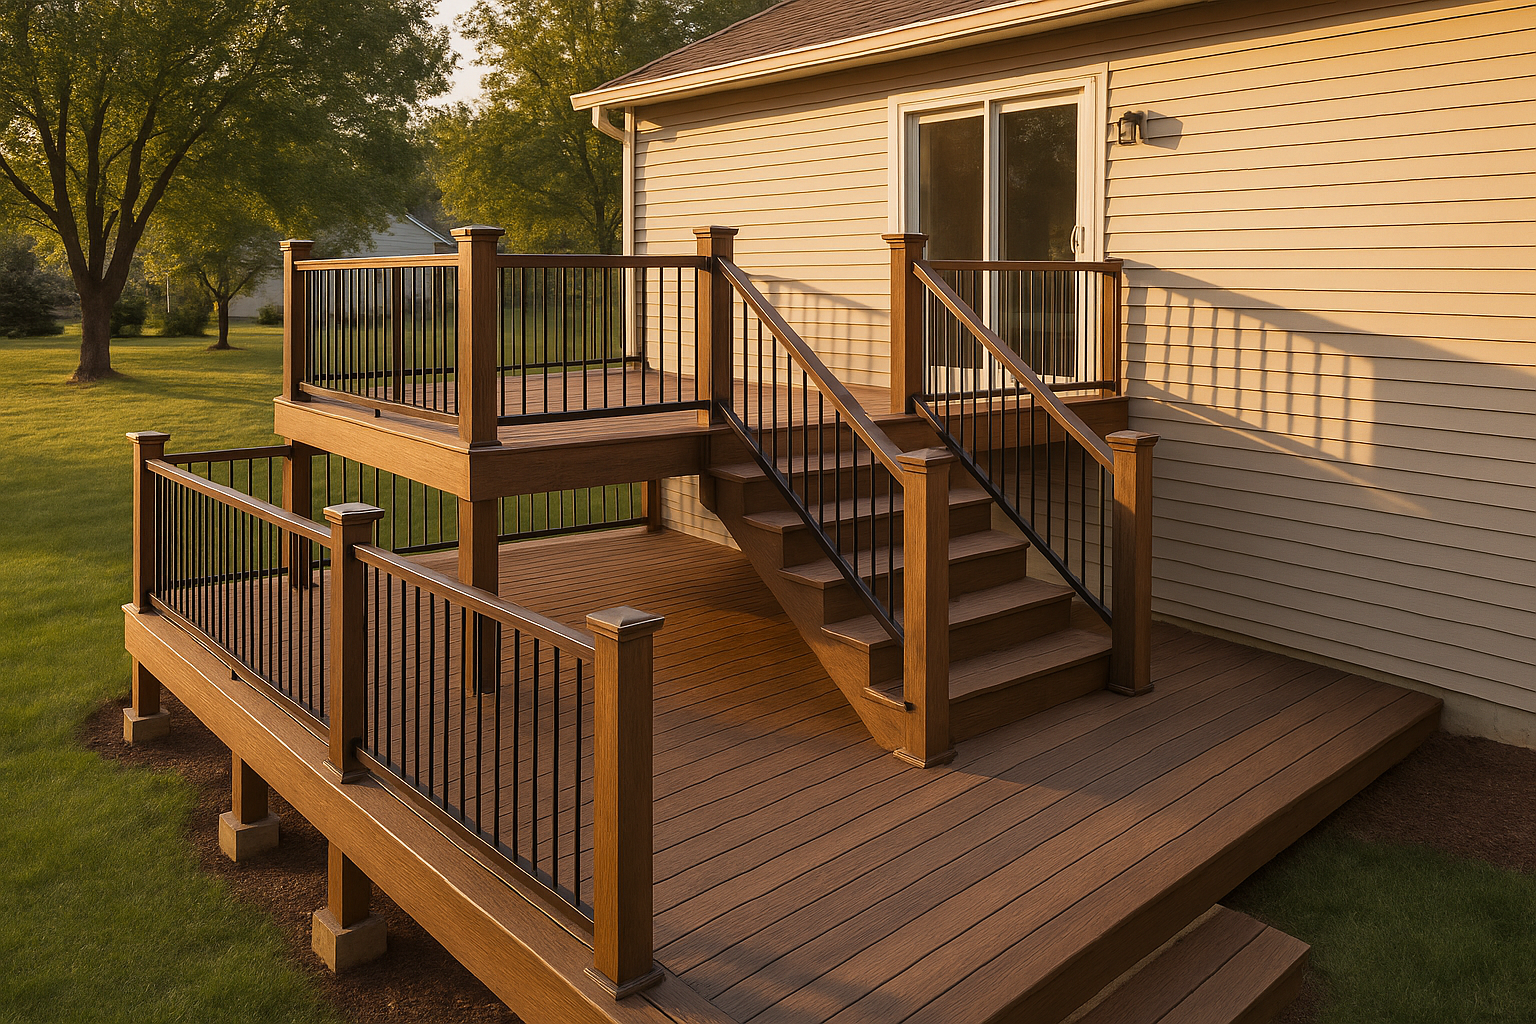
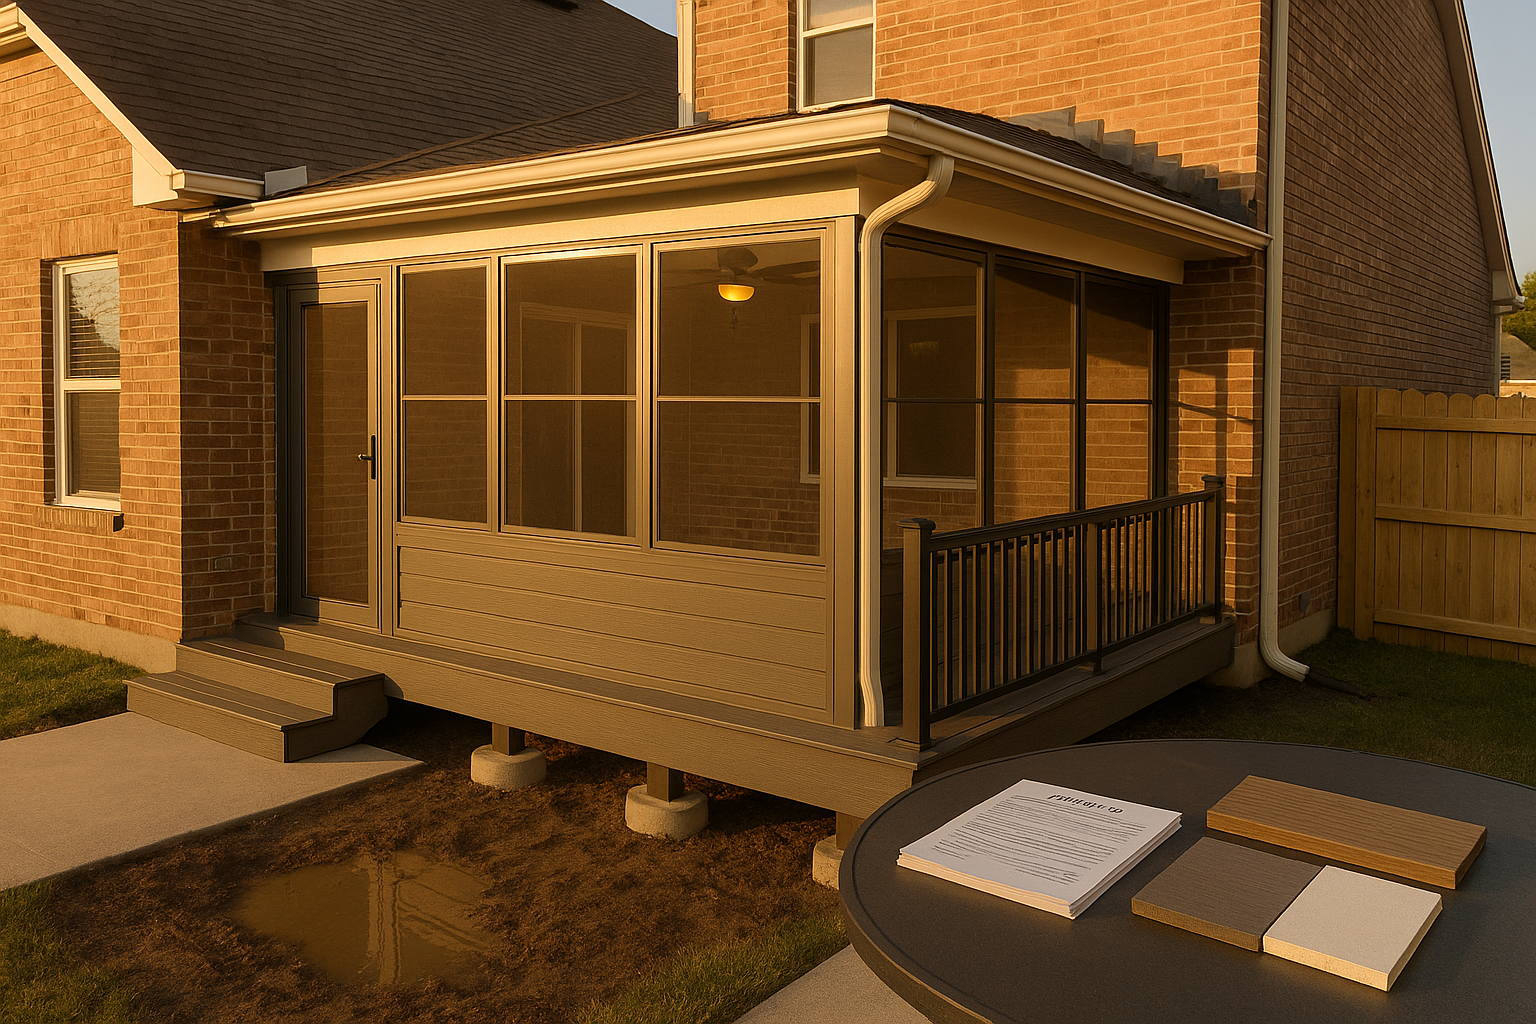
If your deck connects to a patio enclosure or screened porch, think about how the lighting flows from inside to out. A good contractor can tie those spaces together seamlessly. Same goes if there's a fence nearby—wiring might share a trench route. And since railings are where most lights mount, a railing pro can make sure you don't void your composite warranty. A lot of Carmel neighborhoods have those upscale composite railings, and screwing into them wrong can be a costly fix.
Picking Fixtures That Handle Indiana Winters
Our freeze-thaw cycles are tough on outdoor gear. Look for sealed LED fixtures with an IP65 rating or higher—that means they're dust-tight and can handle water jets. Stainless steel or powder-coated hardware won't rust from snow melt or de-icers. I always recommend warm white LEDs, around 2700K to 3000K. That golden tone feels cozy and doesn't attract bugs like bluish lights do.
For stair risers, you only need about 20–60 lumens per light, spaced every 3 or 4 feet. Post caps can alternate on long rails to cut down on glare. If you have a second-story deck, aim lights downward so you're not shining into a neighbor's windows. Many Carmel HOAs have rules about brightness and hours, so a dark-sky friendly layout keeps everyone happy. Durable fixtures matter—just like choosing the right decking for our climate, the materials you pick for lights need to stand up to snow and ice.
Wiring Without Worrying About Voltage Drop
Now the part that scares people: wiring. Low voltage deck lights run on 12V, so you need a transformer to step down from 120V. First, add up the wattage of all your fixtures—LEDs are efficient, but a long run of 20 lights might still pull 60W. Then add 20–30% extra so the transformer runs cool. Place it near a GFCI-protected outlet with an in-use cover that keeps rain and snow out. Don't forget a drip loop on the cord; that's just a little slack that hangs below the outlet so water drips off instead of running inside.
Wire gauge matters, especially for longer runs. For a 50-foot run with a modest load, 14-gauge is usually fine. But if you're pushing past 75 feet or have lots of fixtures, step up to 12-gauge. Voltage drop is a real headache—if your farthest lights look dim, thinner wire is often the culprit. When you follow a low voltage deck lighting installation guide, you'll see a home-run or hub wiring keeps brightness even; daisy-chaining can cause the last light to barely glow. Use gel-filled connectors for every splice, and tuck them up under the deck fascia so they stay dry. Never notch deck joists to run wire; drill small holes with plenty of clearance. If any of this sounds like a lot, a professional deck contractor handles this daily and can hide wires so they're practically invisible.
Timers, Sensors, and Smart Controls
You don't want to remember to flip a switch every night. A timer or photocell automates it. Photocells turn lights on at dusk, but in Carmel, tall trees can shade them and make them turn on too early—test the spot before you mount. Smart plugs let you control lights from your phone and set schedules, which is nice for lowering brightness after 10 p.m. to keep neighbors happy. Some folks even pair landscape lighting on the same system, but that's a conversation for when you want a whole-yard setup.
In spring, give your lights a quick once-over. A little annual maintenance goes a long way. Clean the lenses—pollen and grime build up—and check that connections are still tight. If a fixture gets water inside, swap it out before it corrodes everything.
When You Might Want a Pro on Speed Dial
Honestly, a basic deck light kit is fine for a small, rectangular deck where you don't mind seeing a few wires. But if you've got a multi-level deck, composite railings with hidden channels, or want to tie into existing landscape lighting, things get complicated fast. I've seen homeowners accidentally void railing warranties by drilling into the wrong spot. Or they undersize the transformer and end up with a string of dim lights and a tripping GFCI. If you're weighing DIY vs. pro, asking the right questions before you hire can save you from a botched job.
A pro knows how to size everything, hide wires cleanly, and meet Carmel's local codes. They'll call 811 before any trenching, make sure the GFCI protection is solid, and design a layout that looks good from the street and from your patio. If you're in Carmel, Fishers, Zionsville, or anywhere on Indy's north side, DeckPros can walk you through the whole plan and give you a quote that fits your deck.
At the end of the day, good deck lighting means more evenings outside without fumbling in the dark. It doesn't have to be a science project. Grab a sketch, think about what you really need, and if the wiring part gives you pause, just grab a quote from someone who does this every day.
Thinking about your own deck or pergola?
Free in-home design consultation, 3D rendering, and a written quote — no pressure.